Lenticular Photo Printing: 3D Keepsakes from Old 2D Photos
Why lenticular "3D" looks real—and why restoration can't be a normal retouch
The magic of a lenticular print isn't sharpness. It's timing. As the viewer shifts position, tiny alternating sub-images slide into view beneath a ridged lens, making faces appear to reposition in space. That controlled perspective shift is what creates the illusion of depth from a flat surface.
This means restoration for lenticular work can't produce "one perfect version." It has to stay consistent across angles—stable edges, uniform grain, no micro-differences that the optical system will amplify. Even small inconsistencies in how a hairline or eye corner is corrected can produce visible shimmer once the lens does its job.
Studios often assume the problem is resolution, but more often it's alignment. When thin details land even slightly differently between sub-images, the lenticular effect turns a half-pixel shift into a noticeable glow or wobble. That's why this work is closer to pre-press discipline than photo finishing.
From cracked originals to multi-angle frames: a pipeline that holds
Start with scanning that can survive reconstruction. For typical family archives, 600 DPI is a solid baseline. For heavily damaged prints or fine fabric textures, push to 900–1200 DPI. Keep white balance neutral and use a lossless workflow—fading corrections that introduce posterization will show up later as lens-striping.
Next: stabilize before you chase detail. On a recent 1940s wedding restoration, a standard retouch looked fine in a flat proof. But once the lenticular angle set was applied, the bride's bangs showed subtle warping—a "breathing" edge as sub-images pivoted. The fix wasn't more sharpening. It was careful landmark alignment—eyes, lash lines, mouth corners—paired with one consistent restoration pass carried across the entire frame.
AI fits well here when it repairs without introducing contradictions. RestoreGram handles scratch removal, tear reduction, and noise cleaning while keeping facial structure intact—exactly what you need when building a reliable lenticular master. For a deeper walkthrough on older prints, this photo restoration guide is a useful companion.
Angle set creation follows. Most lenticular products in 2026 use 3 to 7 views, depending on lenticule pitch and print size. Generate views by shifting camera position in a controlled way inside your design pipeline. The subject should "pivot," not appear to detach from the background. For studio backdrops, lock texture scale and avoid aggressive contrast boosts that make the background jump between views.
Press-ready output: resolution, color, and lens mapping that prevent reprints
Lenticular printing has a hard rule: "almost right" on a flat proof can fail under the lens. Export settings must match the lenticule spec you're targeting. Many providers request specific pixel-to-lens mapping, so confirm pitch, viewing angle, and whether they expect interlaced formats or layered view outputs before you finalize.
Color handling is where delays usually start. Old photos drift by channel—especially blues in skies and reds in clothing. If you color-correct only the center view, side views may shift after angle generation, and the lens makes that cast change obvious. The fix is straightforward: perform color correction on the restored master, then apply the same transform to every generated view using linked adjustment layers.
Sharpness deserves restraint. Unsharp masking creates edge halos that might be invisible on a flat image but show up as boundary flicker across lens views. Restore-first clarity works best—apply restrained edge enhancement only after verifying alignment across the full angle set. Done right, the result feels present, not artificially crisp.
If your studio handles client orders that require resizing, standardize dimensions before view mapping. Use an image resizer tool to prevent aspect drift midstream, then treat lenticular preparation as a separate, non-destructive stage.
Quality control checklist
- Alignment: Eyes, mouth corners, and hair outlines stay registered across all views within the provider's tolerance.
- Consistency: Background texture scale remains stable between sub-images.
- Artifacts: Re-check cleaned scratches and tears near high-contrast boundaries—collars, suspenders, hat rims.
- Motion preview: Simulate the lenticular "move test" using the exported view stack before sending to print.
- Export correctness: Match the provider's interlacing, file type, and color profile requirements exactly.
What clients feel in the final object
Clients still ask for cleaner photos. Increasingly, they also ask for something harder to define: presence. Lenticular pieces can deliver it, but only when you respect the original moment. A restored 1950s birthday portrait that keeps natural skin tonality and correct shadow direction reads as dignified. Over-retouched skin feels manufactured the instant the viewer shifts across angles.
Studios earn repeat orders by explaining the process plainly: restoration to lenticular. When a client understands that face geometry is preserved for the lens, trust builds—because the result feels intentional, not randomly stylized.
For studios building adjacent workflows, the path often starts earlier than the lenticular stage. If you're working from black-and-white archives, begin with this colorization guide. For scanning and long-term preservation across family collections, the photo preservation guide covers intake and documentation.
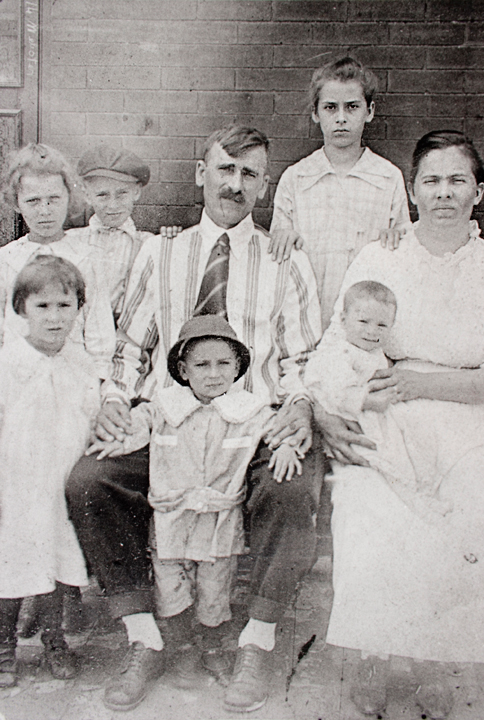
Before Restoration
Faded, grainy, and deteriorated vintage photo

After RestoreGram
Vibrant, clear, and beautifully restored
RestoreGram fits naturally as the restoration base for this workflow. Restore once with consistent structure, then generate the angle set and press-ready output with your design tooling. This sidesteps the most common failure mode: repainting the same photo differently for each view, which quietly turns into misregistration under the lens.
Restore Your Photos Today
Try RestoreGram's AI-powered photo restoration. Used by studios worldwide.
Try RestoreGram Free →