Remove Creases from Scanned Photos Without Damage
Why creases look worse after scanning
Scanners are brutally honest. Where your eye glosses over a fold in a printed photo, a flatbed at 600 DPI captures every warped paper fiber, every micro-shadow, every contrast shift along the crease. The result is a digital file where the damage looks more prominent than it did on the kitchen table.
That's why a clone stamp rarely cuts it. Manually blending a crease tends to produce smeared skin tones or blurred clothing textures that look almost as bad as the fold itself. A better crease removal workflow uses reconstruction — rebuilding the damaged strip so it merges naturally with surrounding faces, fabric, and background detail.
Prepare your scan for better results
Give the restoration enough visual information to work with. Scan at 300–600 DPI and save a lossless master (TIFF or PNG). For black-and-white prints, scan in grayscale — color mode introduces tonal inconsistencies that complicate the repair. Low-resolution scans limit what any tool can reconstruct, which is why crease fixes on blurry files rarely look seamless.
Before restoring, straighten and crop so the entire crease sits inside the frame. If the fold touches an edge, the AI loses context it needs to rebuild that strip. You can use the image compressor later for sharing, but always keep the high-quality master for your final output.
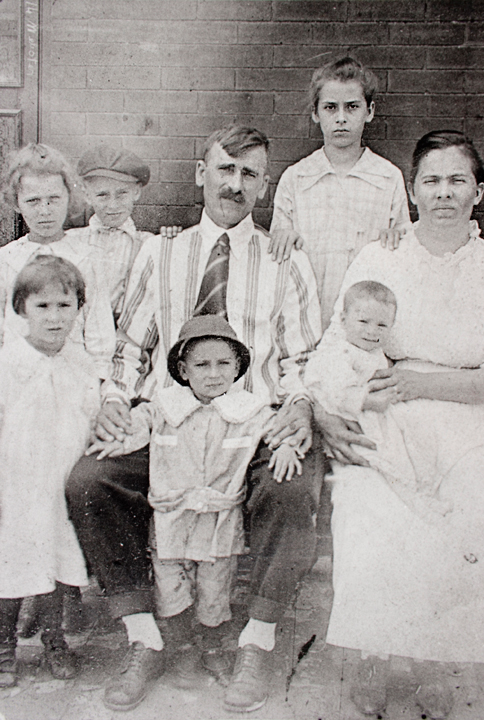
Before Restoration
Faded, grainy, and deteriorated vintage photo

After RestoreGram
Vibrant, clear, and beautifully restored
How RestoreGram removes fold lines without overpainting
RestoreGram reconstructs the distorted region rather than painting over it. Upload your scan, run a restore pass, and the app rebuilds the crease zone — matching skin texture, clothing weave, and background grain to the undamaged areas on either side of the fold.
After restoring, zoom into eyes, mouths, and any printed text. These are the spots where a bad repair shows first. If the crease cuts across multiple faces, a slight crop that centers the damaged zone can help the AI focus more accurately.
Working with a black-and-white original where the fold is severe? Restore first, then add color. Our guide on colorizing black-and-white photos walks through the next step.
Finish clean: crop, resize, convert
Once the crease is gone, refine the presentation. Use the image cropper to trim scanner borders and reframe naturally. Need a different file type for a lab or album? The format converter handles PNG, JPG, and WebP without re-running restoration.
The five-step workflow for stubborn creases
- Scan at 300–600 DPI. Save a lossless master.
- Straighten and crop so the crease sits fully inside the frame.
- Restore in RestoreGram. Zoom into faces and text to confirm the fold is gone.
- Refine with crop and resize tools after restoration, not before.
- Archive the master restore alongside your original scan.
If you're working through a stack of family photos, pair this workflow with a solid storage habit — our photo preservation guide covers organizing originals, restored versions, and backups. Done right, the fold disappears and what remains is the moment the photo was meant to hold.