How to Fix Water Damaged Photos: A Restoration Checklist
Stop the damage first
A flooded basement doesn't ruin photos instantly—the hours afterward do. Ink bleeds into halos around faces, emulsions soften and fuse prints together, and mold colonizes damp paper faster than you'd expect. The single most important thing you can do is stabilize before you restore.
Separate stuck prints by sliding parchment or wax paper between them, then lay each photo flat on clean, absorbent paper in a well-ventilated room. If you spot mold—fuzzy patches, a musty smell—bag that photo immediately and isolate it from the rest of your collection.
Sort and assess the damage
Organize photos into three groups: water stains (browning, tide marks), warping and sticking (brittle edges, curled corners), and mold damage (spotty growth, discoloration, musty odor). Snap a quick reference photo of each print with your phone so you can track progress later.
If you notice loose grit or debris, dust lightly with a soft, dry brush. Don't rub stains. Friction pushes pigment deeper into the emulsion, making restoration harder—whether you're working by hand or with AI.
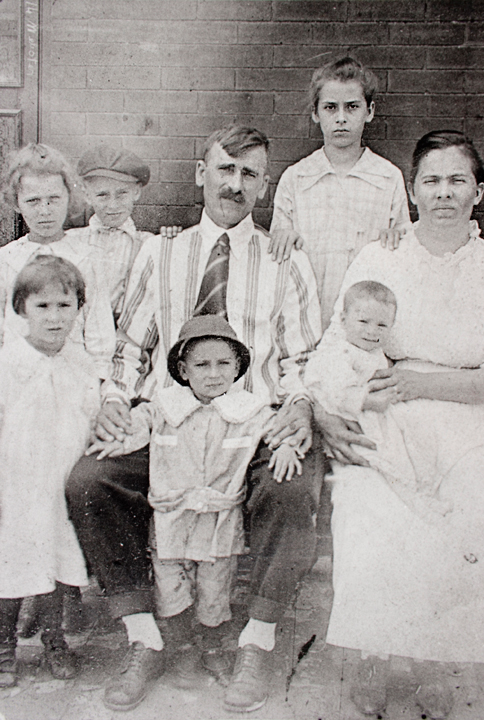
Before Restoration
Faded, grainy, and deteriorated vintage photo

After RestoreGram
Vibrant, clear, and beautifully restored
Digitize cleanly, then restore with AI
Before uploading to RestoreGram, scan or photograph each print in bright, even light. Place the photo flat, eliminate shadows, and use the highest resolution your camera allows. Capture the full frame including edges—you can always crop and reframe afterward to remove white borders or straighten warped edges.
AI restoration works best when your upload preserves every surviving detail. For faded or color-shifted prints, RestoreGram can recover contrast and upscale low-resolution scans so faces look natural again instead of washed out. Want a deeper workflow? Pair this checklist with our guide on how to restore old photos with AI.
Mold damage: contain first, digitize next
Mold-damaged photos need extra caution. Wear a mask, keep affected prints sealed until you're ready to scan, and never blow air directly onto the surface—you'll spread spores to clean photos nearby.
When uploading a mold-affected scan, prioritize clarity: remove glare, keep the entire image visible, and expect to run careful enhancement passes for deep damage. RestoreGram's cleanup can reduce discoloration and recover facial structure even when the print looks hopeless in person.
Save it right so you never lose it again
After downloading your restored file, match it to how you plan to use it. Printing? You may need to resize for your lab's requirements. Sharing digitally? Export a smaller copy.
Always keep two versions: a full-resolution master for future reprints and a lighter file for texting to relatives. The flood may be over, but your preservation habits shouldn't be. Stabilize fast, digitize cleanly, and let AI handle the stain removal and contrast recovery—so your photos look like memories again, not waterlogged paper.