Fix Sun-Faded Photos: Restore Color Naturally with AI
Sun fading turned your photos beige. Here's how to bring them back.
Sun fading does more than wash out a photo—it warps it. Whites turn yellow, skin drifts toward gray or orange, and shadows lose all their depth. If you're trying to fix sun-faded photos, the good news is that most of this damage is reversible with the right approach, one that prioritizes natural color balance over brute-force brightness.
My uncle's 1978 graduation portrait is a perfect example. It spent years propped in a sunny window. By the time we found it, his navy gown looked rusty, his skin had gone sallow, and the whole image radiated a warm, washed-out haze. That's what happens when UV light breaks down dyes—your photo doesn't just fade, it drifts in color.
Use AI color restoration—but control the intensity
AI can rebuild missing color cues and rebalance tones far faster than manual editing. But speed without restraint leads to garish results. With RestoreGram, a two-step approach works best: restore structure first for clarity and contrast, then layer in photo color restoration at a lighter, more natural setting—especially on older prints where facial detail is already compromised.
If the app offers intensity controls, start low. And resist the urge to run the same pass twice. Sun-faded dyes tend to snap into alignment after a single correction; extra cycles push colors past what the original photo ever contained.
*Typical outcome when users select lower intensity and avoid reprocessing loops.
The real-color check (not the neon test)
After restoration, zoom in and inspect four areas: (1) Eyes—should look clear and dark, not washed out. (2) Teeth—shouldn't go blue or glare-bright. (3) White clothing—should read neutral or gently warm, not highlighter yellow. (4) Dark fabrics—should regain depth rather than drift brown.
If the restored image looks filtered, stop. When fixing sun-faded photos, overshooting is far more common than under-correcting—especially with heavy window exposure.
A workflow for families and studios alike
Studios can package sun-damage restoration as a repeatable service: triage by fading severity, run AI restoration, then deliver a single "natural" proof for client approval. Batch work is where RestoreGram shines—wedding scans, graduation sets, and holiday portraits often arrive together.
Delivery details matter. For email-friendly files, compress after restoring with the image compressor. For print, match the output to your target dimensions using the image resizer. And to clean up damaged edges or distracting borders, the image cropper preserves what matters without stretching faces.
Use reference photos to anchor your colors
If you have multiple photos from the same event, use one as a color anchor. A group shot might contain the correct shade of a uniform or dress—matching that tone across the set keeps your photo color restoration consistent rather than photo-by-photo guesswork.
Restoring black-and-white scans into color is a different process entirely—follow the guide on how to colorize black-and-white photos for that. And to prevent future fading, pair your restoration work with proper storage: the photo preservation guide covers what actually works.
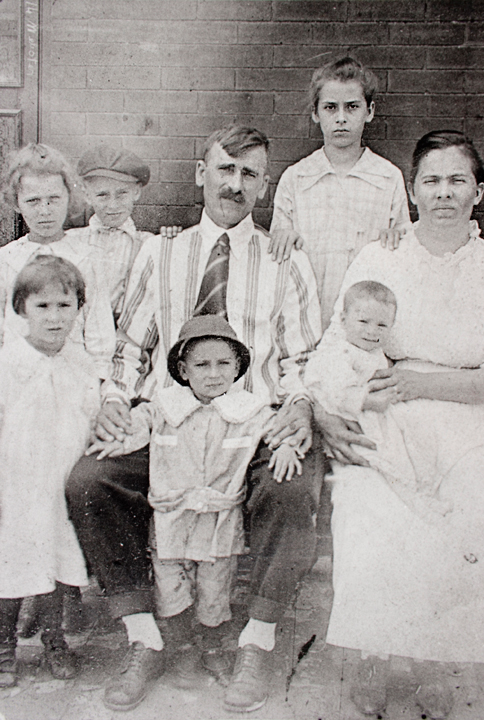
Before Restoration
Faded, grainy, and deteriorated vintage photo
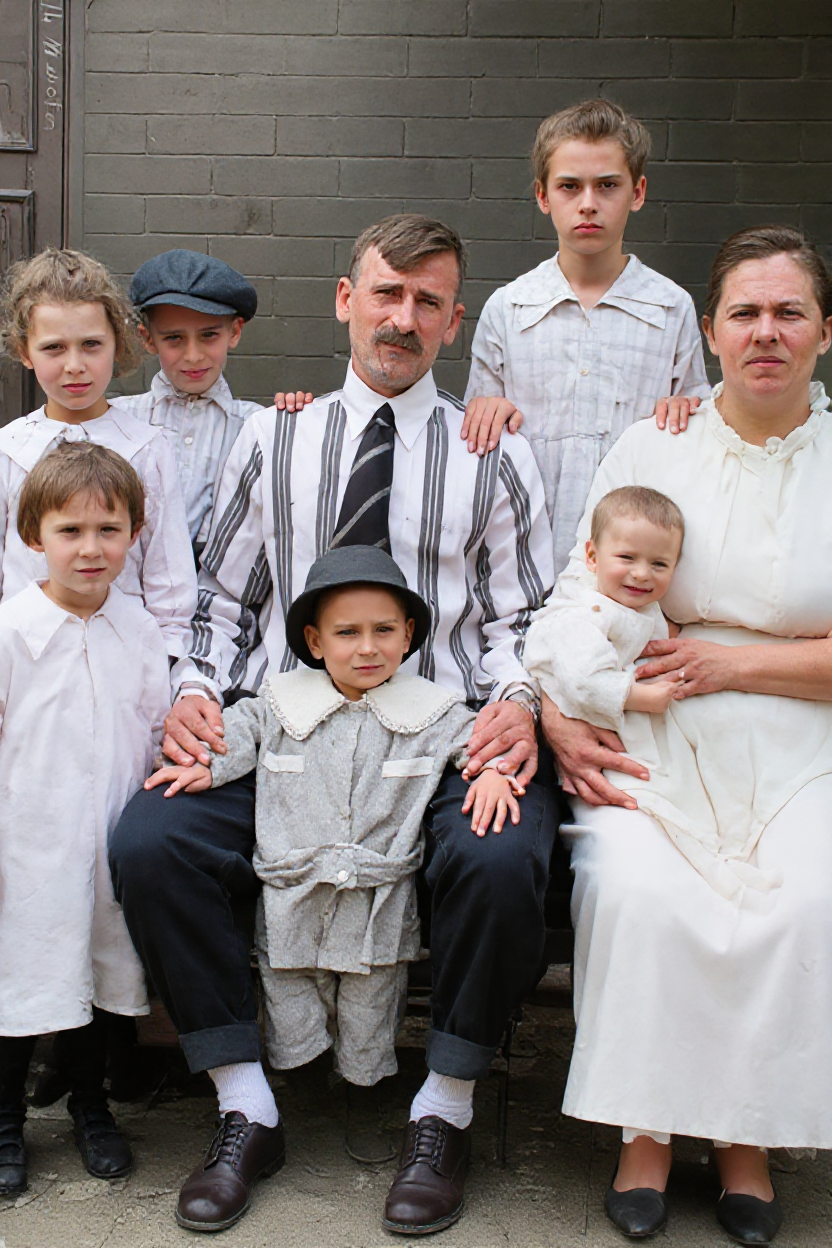
After RestoreGram
Vibrant, clear, and beautifully restored
Fixing sun damage isn't about cranking up brightness—it's about restoring structure first, then coaxing color back gently. RestoreGram handles both steps in a single pass, giving you believable results without the spiral into overprocessed territory.